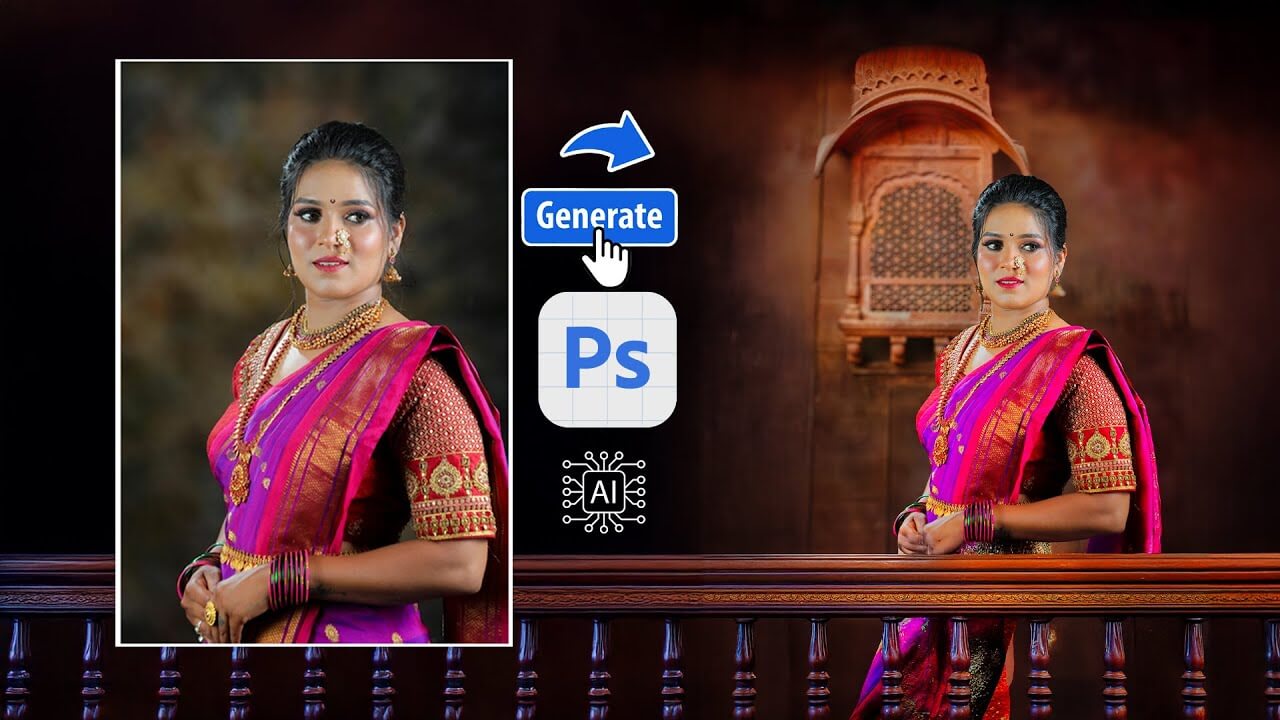
In today’s blog, you’ll learn how to transform a simple image into a professional-looking edit using Photoshop AI tools. We’ll use techniques like background expansion, subject isolation, decorative patterns, and blending effects to enhance your image step by step.
🔧 Tools Used:
-
Marquee Tool
-
Select & Mask
-
Generative Fill (AI)
-
Blend Modes (Soft Light)
-
Camera Raw Filter
-
Lens Blur (AI-Based)
-
Lasso / Brush Tool
-
Luminar Neo (Optional)
🖼️ Step-by-Step Photoshop Editing Process:
1. Image Enlargement & Duplication
We start by enlarging the image slightly and creating two copies for editing purposes.
2. Background Expansion
Using the Marquee Tool and inverting the selection, we apply Generative Fill (AI) to extend the background naturally.
3. Subject Isolation
We isolate the subject using Select & Mask, allowing us to edit the background and subject separately for better control.
4. Adding Decorative Pattern
We add a vintage-style decorative railing pattern using this prompt:Traditional old wooden railing decorative pattern
5. Enhancing Image with Luminar Neo
Using Luminar Neo, we adjust highlights, contrast, exposure, and shadows for a more polished look.
6. Applying AI Lens Blur
The image is converted to a Smart Object, and Camera Raw Filter > Lens Blur is applied to softly blur the background while keeping the subject sharp.
7. Final Touches
We slightly darken the background to highlight the subject. You can also add festive elements like lamps, lanterns, or Diwali decorations to enhance creativity.
🆚 Before vs After
📸 Before: Basic image with default background
🎨 After: AI-enhanced background, decorative railing, and professional lens blur applied
📌 Don’t Forget:
✅ Like this blog
✅ Share it with your friends
✅ Subscribe to our YouTube channel for more tutorials
🔖 Hashtags:
